Before we outline what has happened on the Land Rover, an absolutely enourmous thanks goes to Moss, who has helped out with so many parts for the car and has spent many many (hundreds) of hours welding the car, taking it apart, putting it together and using his expertise to help us prepare the car for the rally. Lewis, who has also spent a crazy number of hours helping out with car preparation, painting, and fixing parts on the car. Zoe, who has been incredibly patient with the number of weekends (and weekdays) that Alex has dedicated to the car, it takes someone quite special to appreciate the amount of work that has to be carried out on the car. Zoe has also helped out with the work on the car, including finding the car on eBay before we even had a car for the rally!
As we started to work on the Land Rover to see what was needed for the MOT as well as checking the general condition, we started to realise the amount of time we would need to get it going would not just be a matter of hours...as expected perhaps.
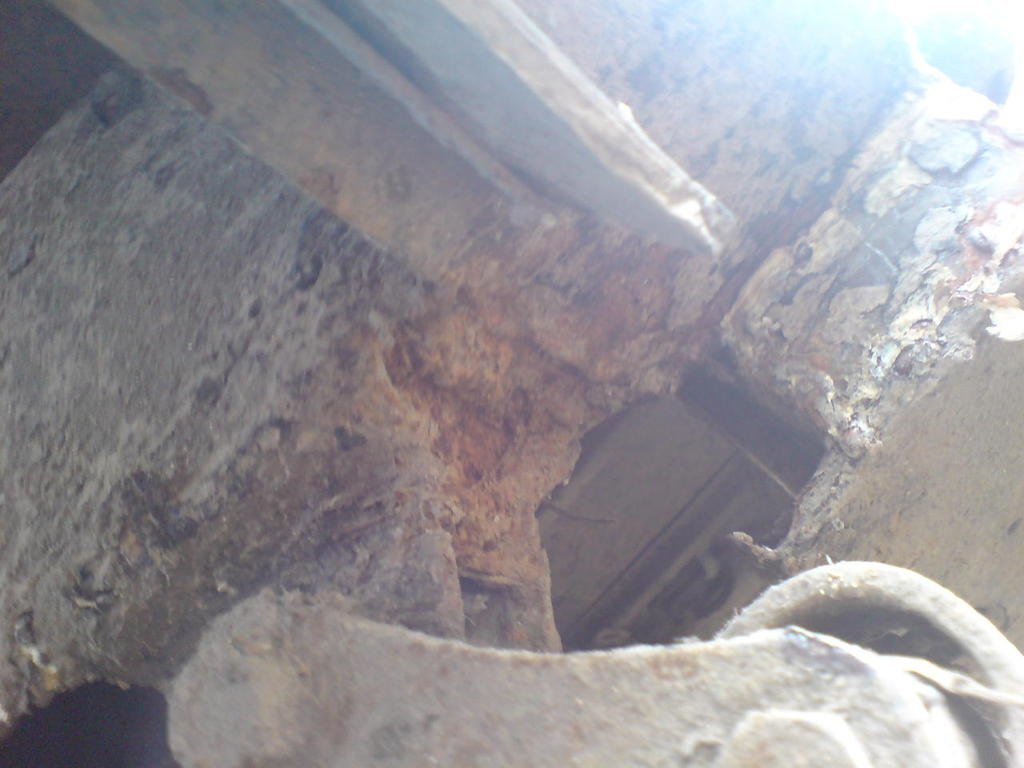
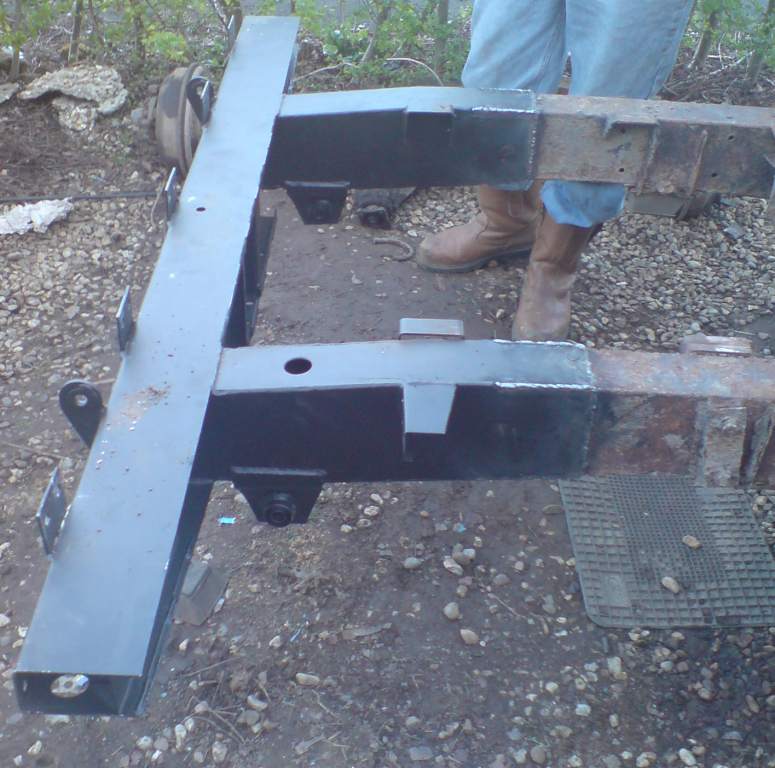
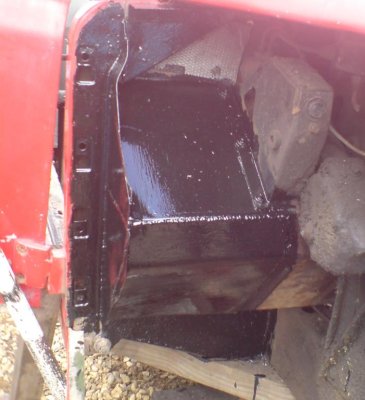
The rear chassis at some point needed some welding, but instead of welding on patches, thin metal patches have been glued and then copious amounts of underseal put ontop, quite easily fooling MOT'ers! Quite unsafe as the rear leaf hangers are not supported by a lot!

Passenger side footwell and driver side footwell were very crusty. A lot of bodge fixes - patches have been glued in and were easily peeled off.
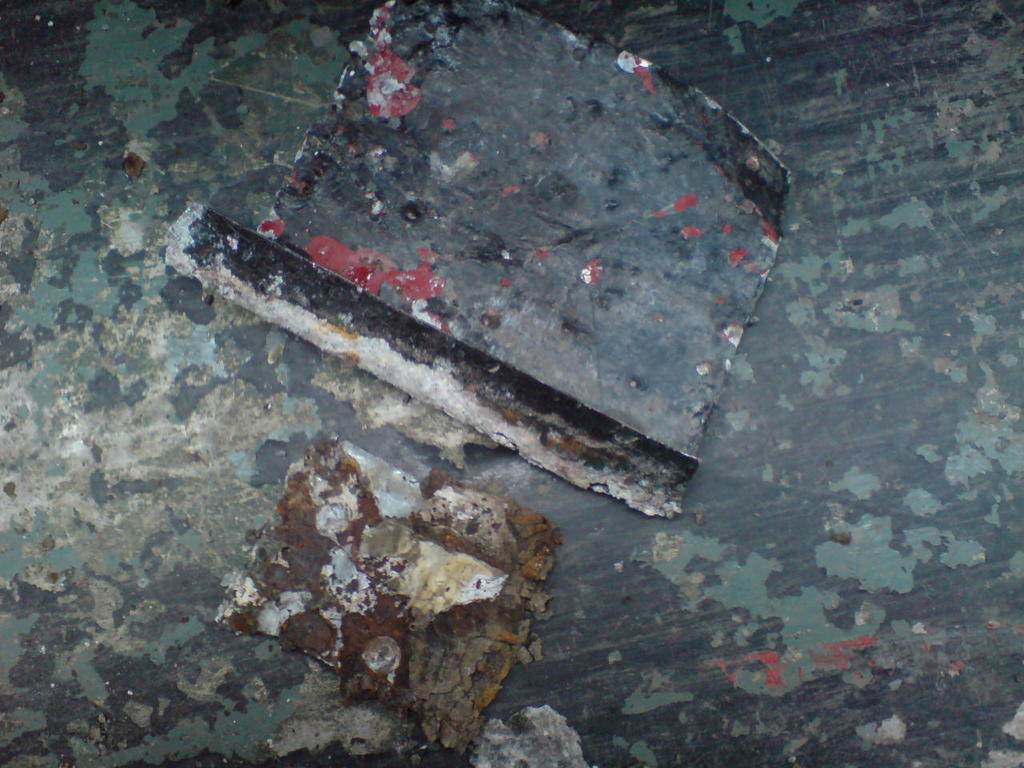
Once the patch was removed, you can see the massive hole it was hiding!

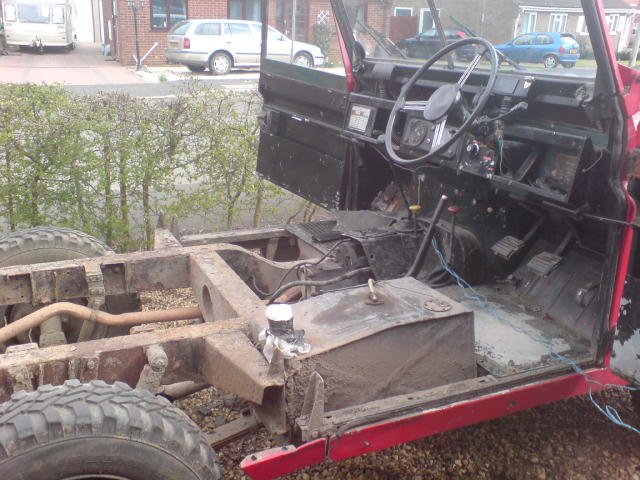
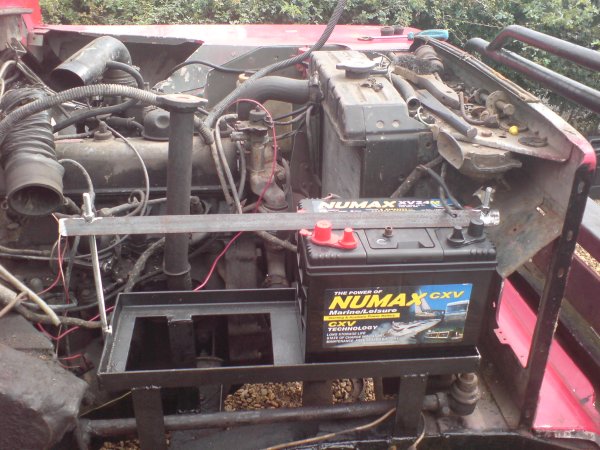
The battery for some reason has been relocated to under the passenger seat. A bit cut out has been made to the seatbox, which is structural, so should also be a MOT failure.
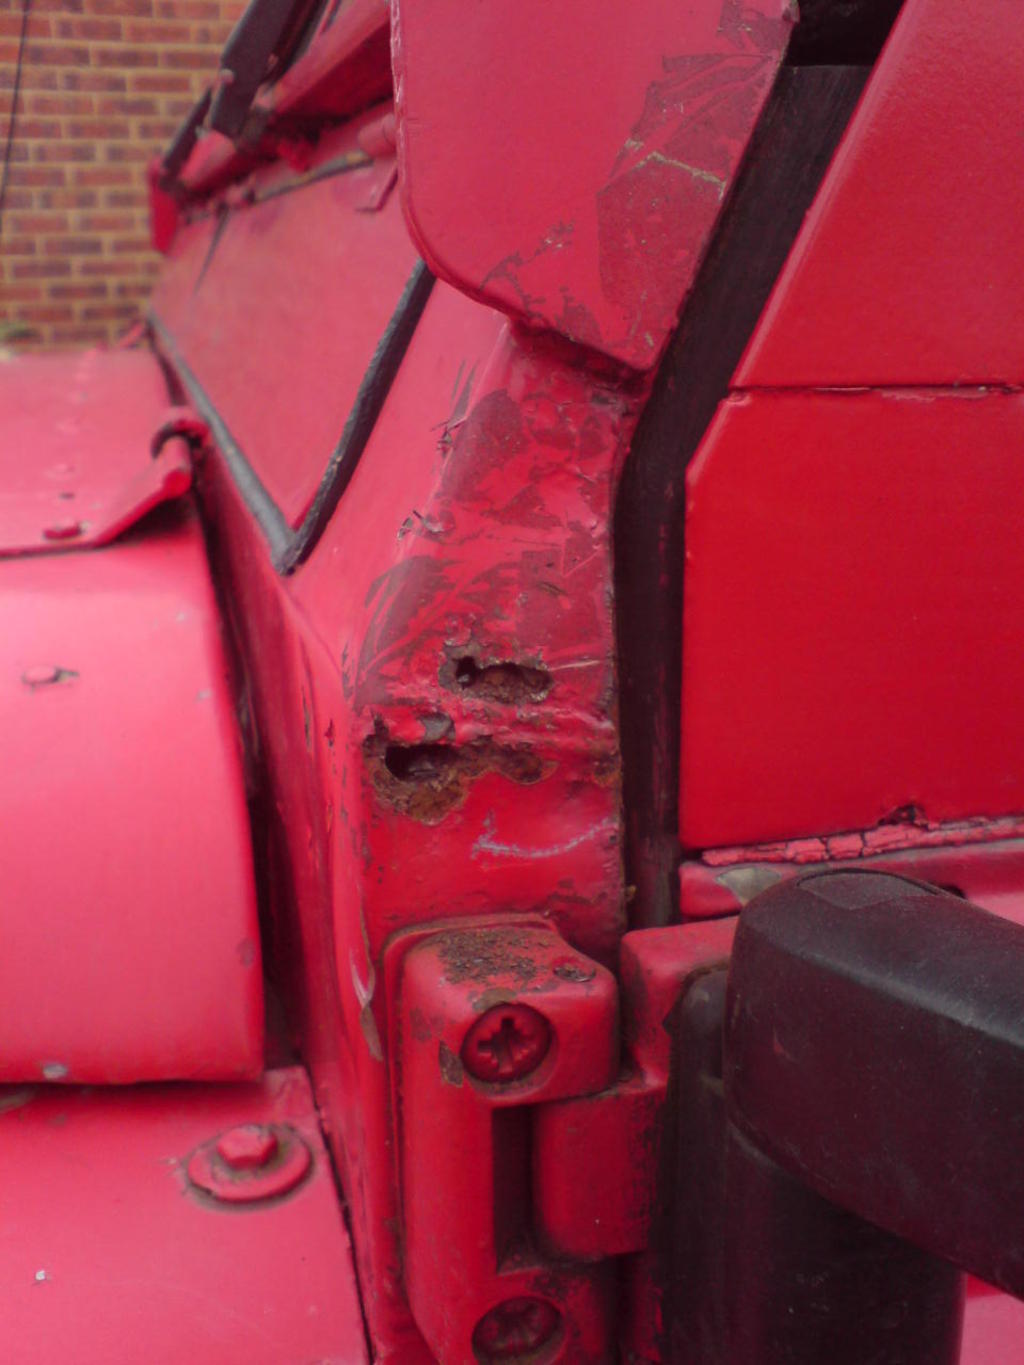
And here we have a nice hole in the door pillar that will need to be sorted out.
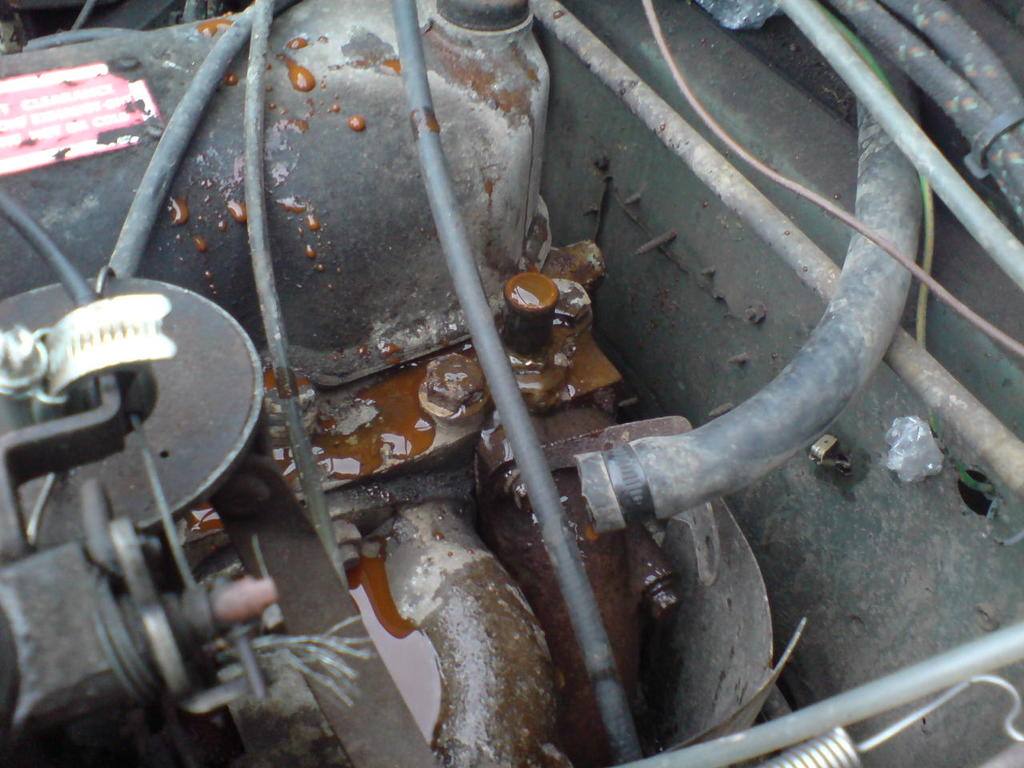
Looks like the water doesn't have any antifreeze and has not been replaced for a considerable length of time.
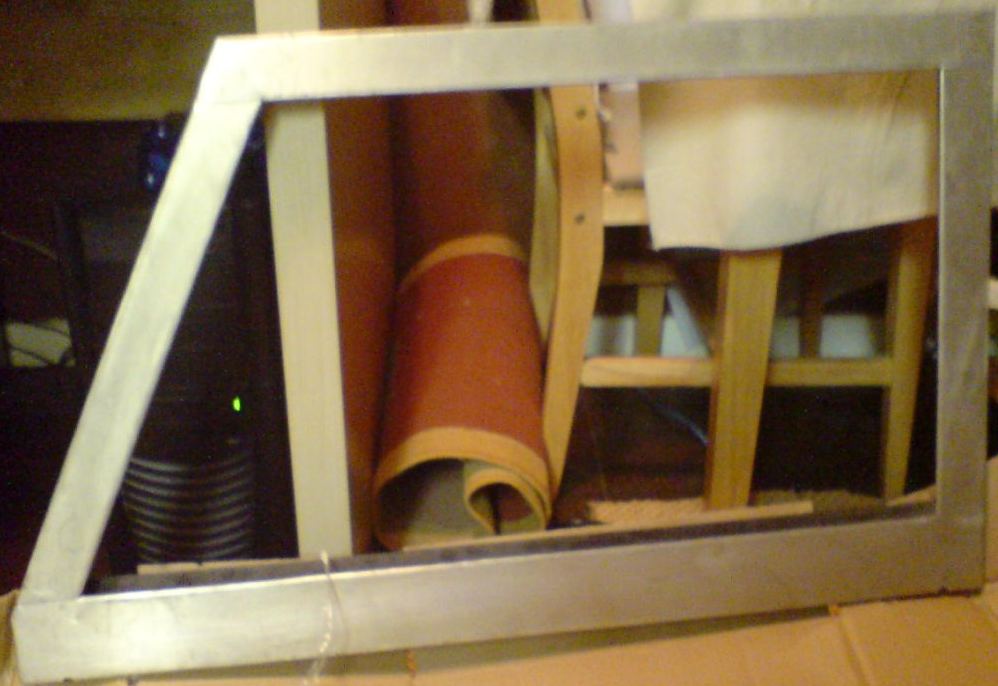
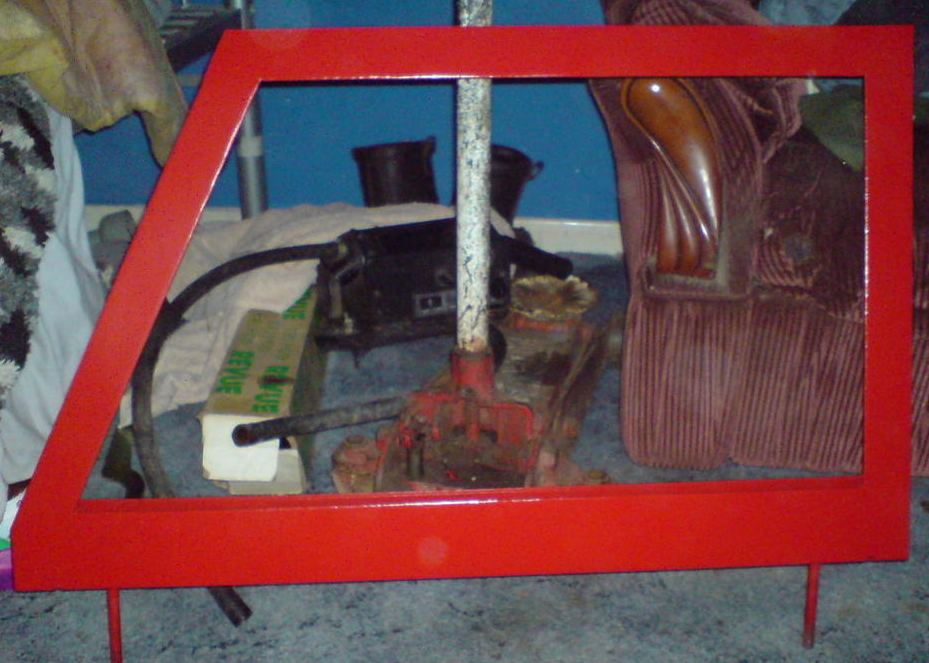
Anyway, we thought we'd make a start and paint the door top. Here it is removed, and then painted.
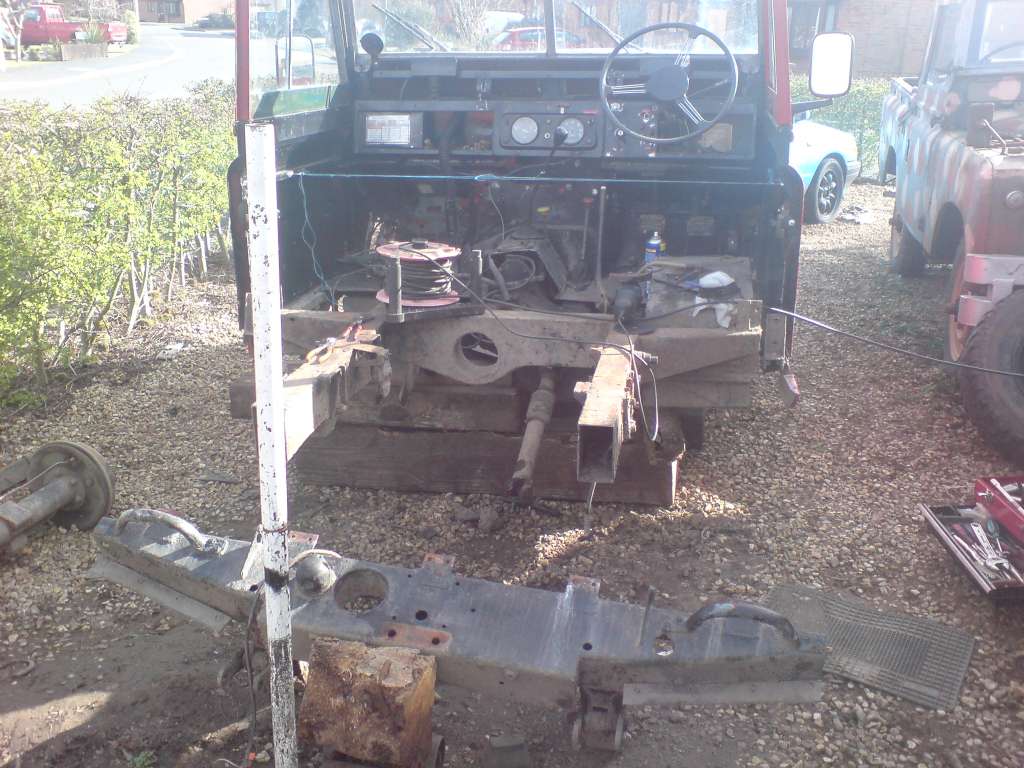
The destructive part of the work beings. The body comes off to get to the chassis so it can be worked on.
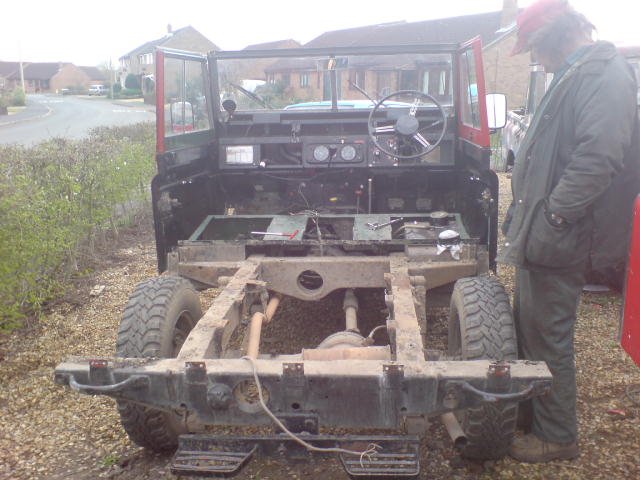
And now the chasis comes off!
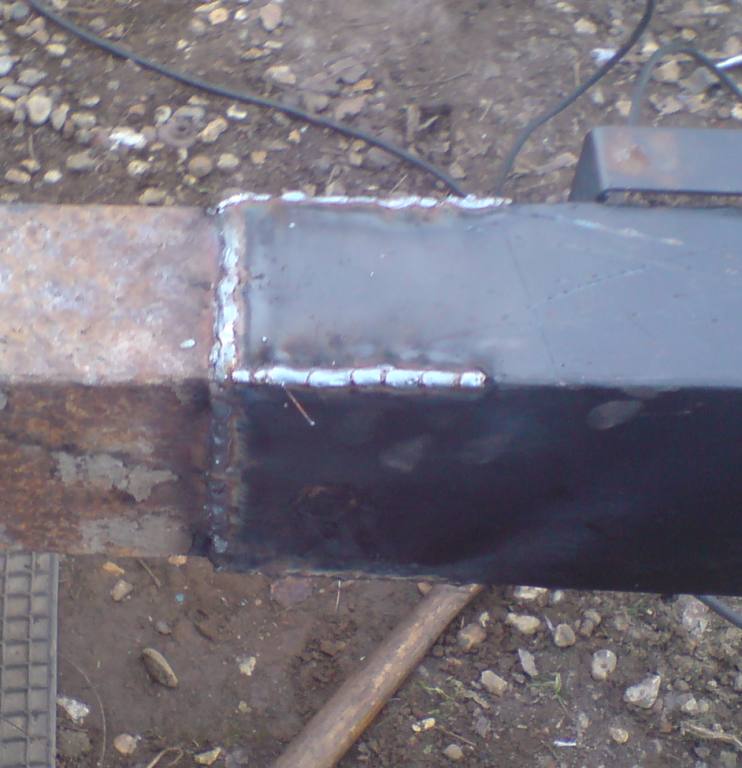
After the welding, you can see the rear section looking quite new and rock solid!
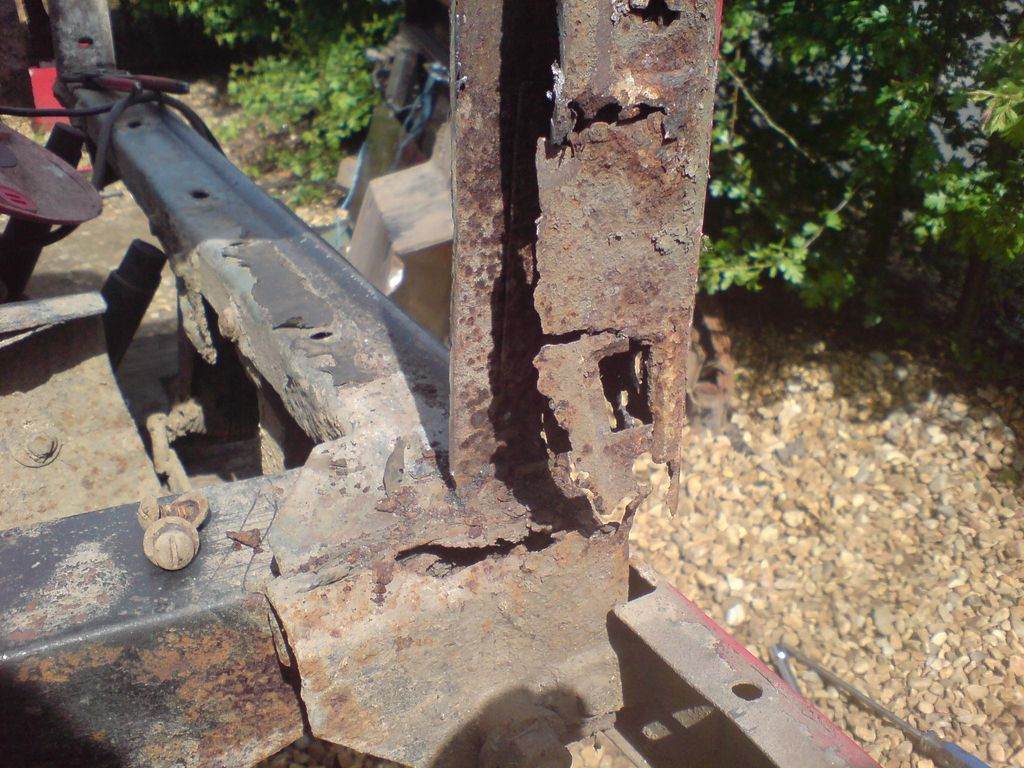
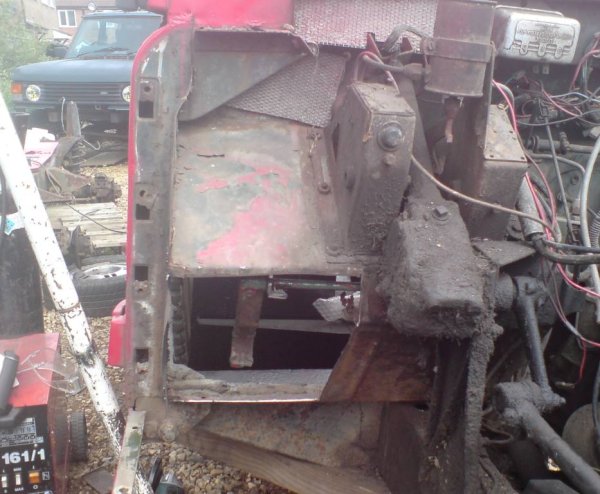
After removing the wing while investigating the car, we found a severe case of rust and a massive hole in the D post and mount. Considering it holds the door on, the body mounts and part of the floor mounts to it, this was not good at all! So it will be cut out and replaced.
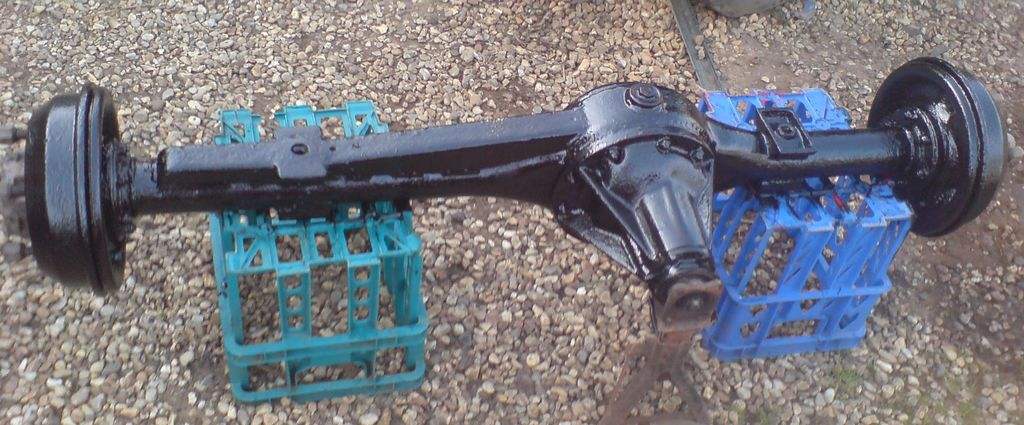
Here is the axle, having been cleaned, chassis and drums painted up with Hammerite. Now they are nice and smooth, there was so much crud, it took hours!.
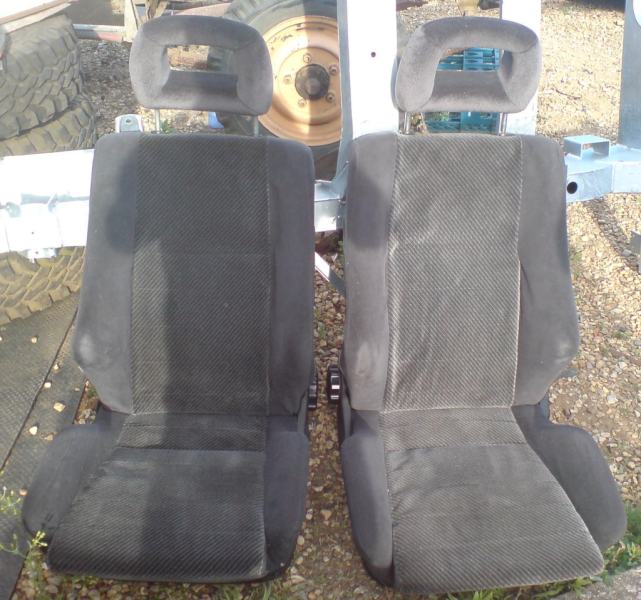
We decieded to replace the current seats. We picked up these very good condition Recaros from a Cav GSI. Some rails will have to be made up at some point.
We finally took deliver of our new D post, and here it is in place.
Welding! Work in progress!
Just when we thought we were on top of it all, we found a nice crack in the chasis. Had our time been wasted on this car? Nope, anything (almost) can be fixed with a bit of welding.
The drivers footwell was looking in poor shape too, here it is before and after repair.
Now the body and roof are back on. It is starting to look more like a Land Rover! It is looking quite high at the back as there are new heavy duty springs on the rear.
Been working on the Land Rover with what seems like every spare weekend and evening that we have. Progress of course has been halted by finding random problems, bits falling off and things not measuring up. But we have now come to expect these challenges now! Still plenty of jobs to do, but we are happy with the progress.
Homemade battery tray welded in place. Larger and heavy duty than standard to accommodate 2 big batteries.
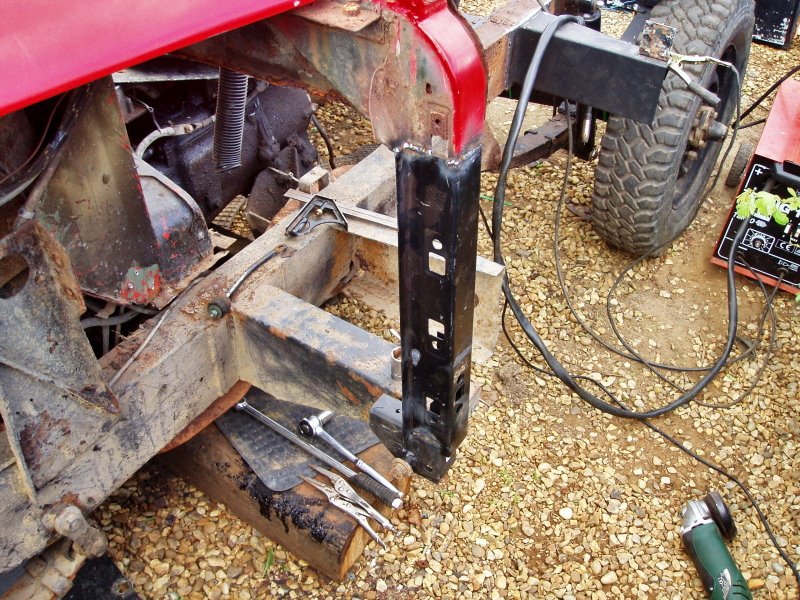
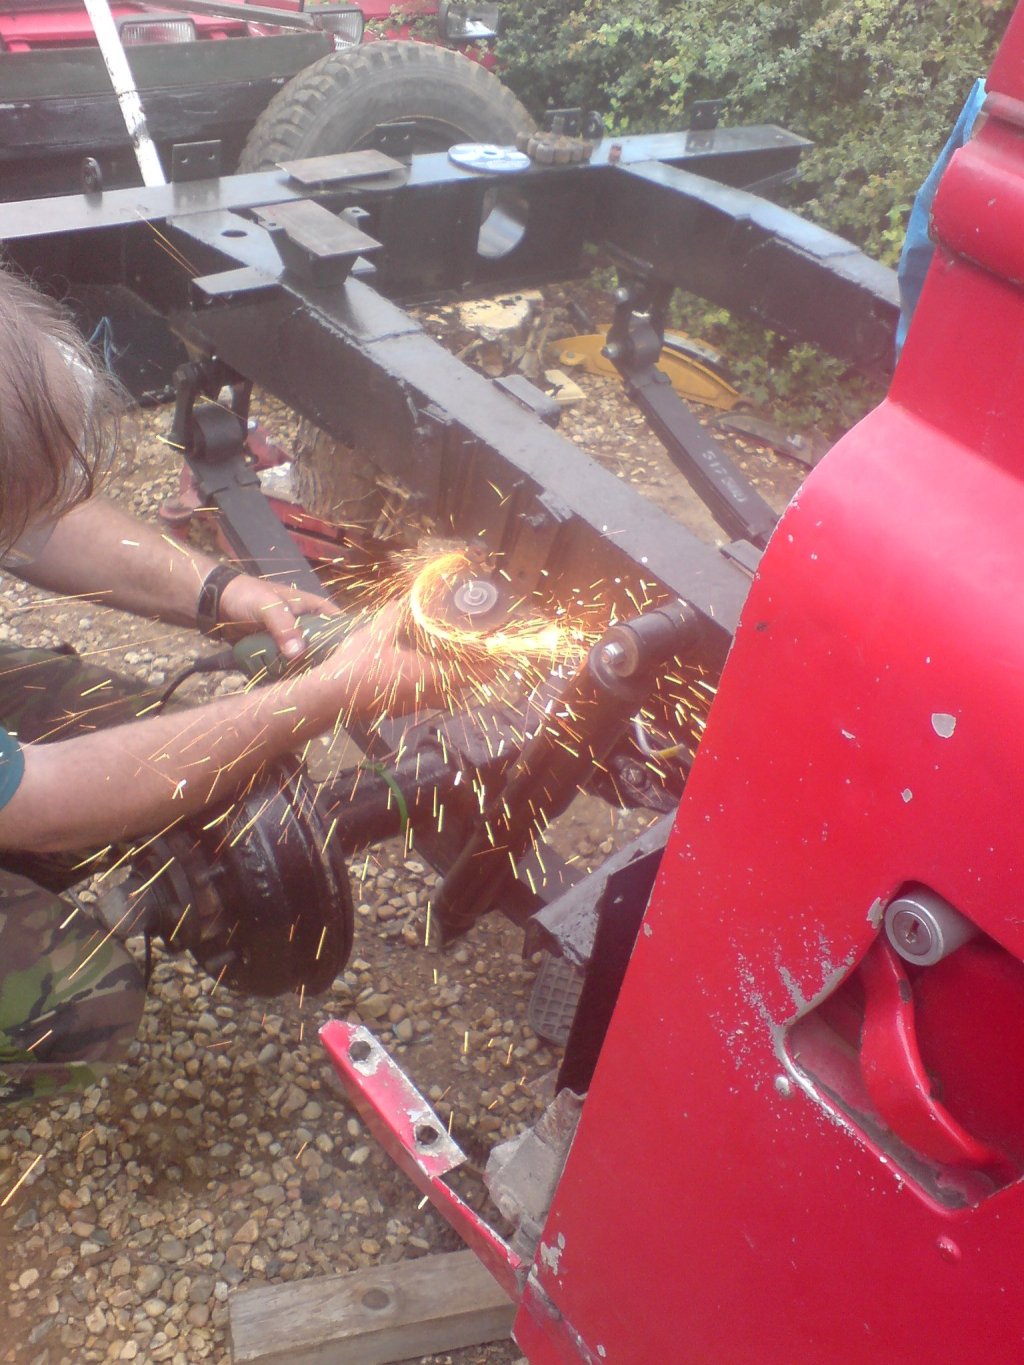
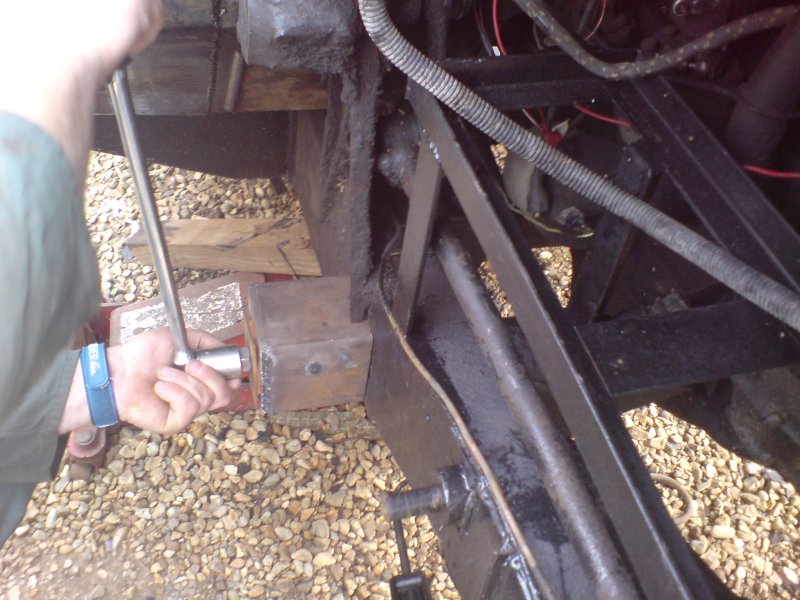
Next task was to tackle the front suspension. With lots of effort and swearing and the angle grinder it all came off...only to reveal that the chassis near the spring hangar is bent. Considering how much work we have put in so far it doesn't seem right to ignore it. Moss of course was consulted and made a tool for the job to pull the chassis straight. Our reaction to his creation was one of intrigue as to how it would work, but once assembled on the chassis it took literally minutes to straighten it. Good job!
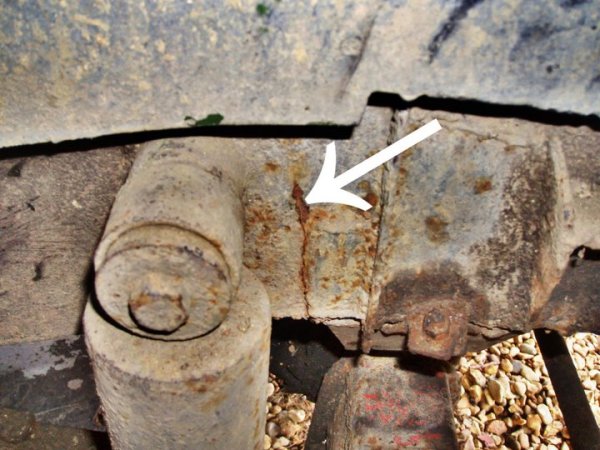
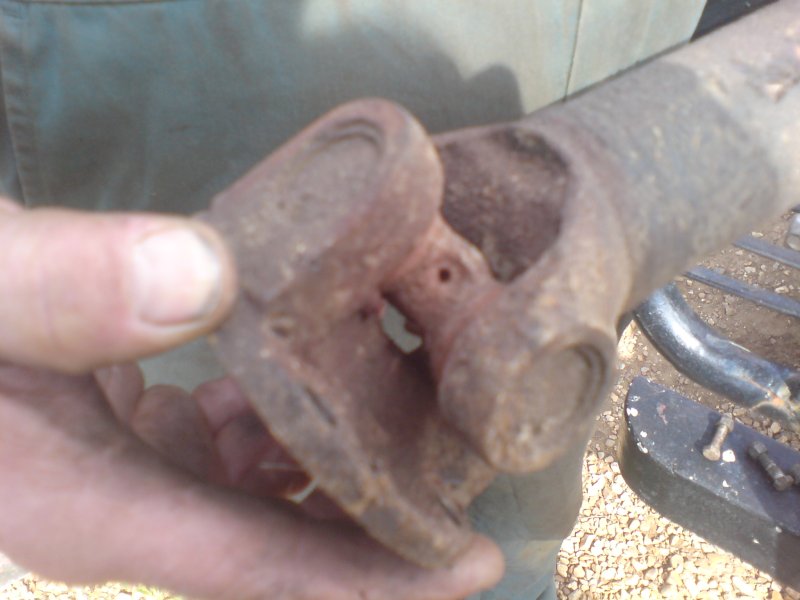
One of the problems on the Mongol Rally we had was loosing four-wheel drive. Not wanting this to happen again, the universal joints (the end bits which wear out) on the propshafts were replaced. One example of a very knackered one:
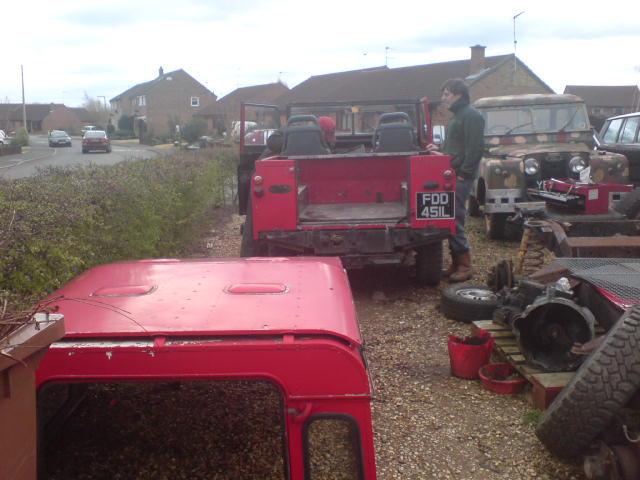
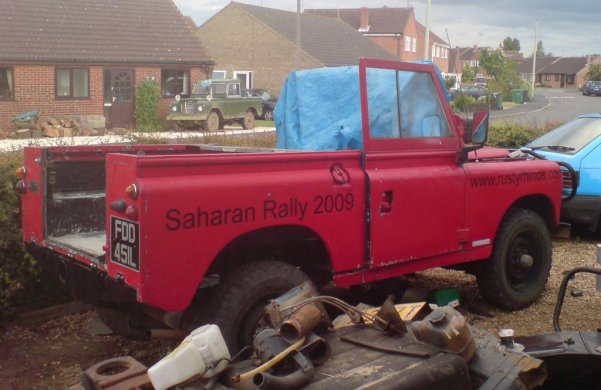
With the front suspension, wings, seatbox and floor fitted and now sitting on its own four wheels, Red is finally looking like a Land Rover again.